Virtual Display Instructions
2/18/2025
Virtual is a touch screen display that can be controlled with the pen provided or with your hands.
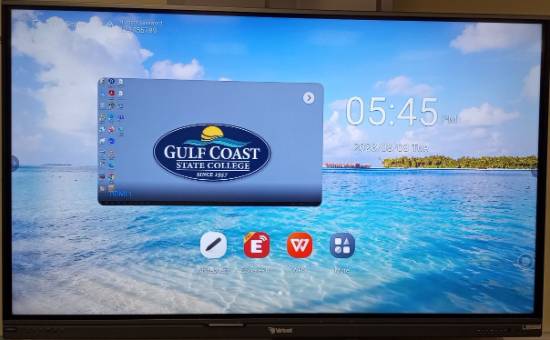
When you power on the Virtual display from the Smart Station desk control panel, the display should default to the Smart Station computer. If it does not, touch the preview window in the center of the display screen to select the Smart Station computer.

The display will be in “mouse mode,” you can control it as if you were using the computer mouse at the Smart Station.
On both sides of the Virtual display image you will have arrows. These arrows will open up the sidebar menu functions.
- Annotate:
Draw over any image on the screen. Once selected, more options become available including the pen tool, eraser, creating new pages, minimize, save, or close. saved images will be found in the displays internal memory (Filemanger). - Arrow buttons.
- White Board:
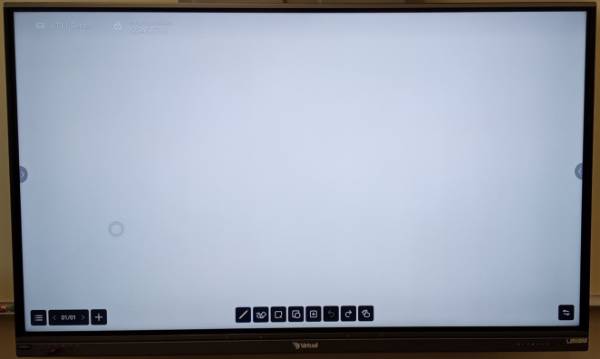
You can write/draw on the display as if it were a dry erase white board. Some options here include the pen tool, eraser, select, add shapes, add new pages, choose between one or multi touch, and more (see below for example). - Back arrow.
- Android/OPS (home screen).
- File stack (apps currently running).
- Arrow (signal source).
- Control Panel.
- System Settings.
- Tool (some require additional software installed).

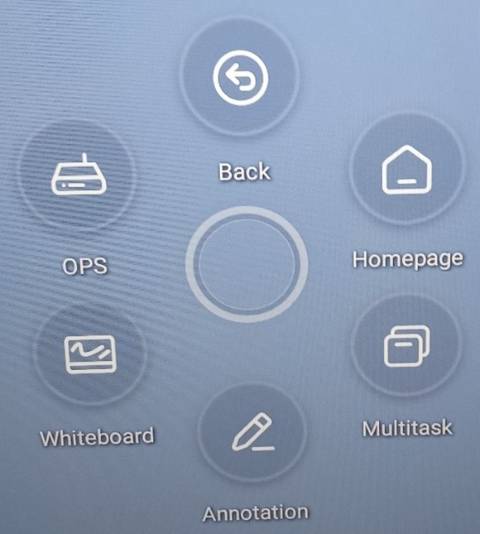
Additionally, there is a floating circle shortcut icon on the Virtual’s screen that will open up many of the same features as the side arrow toolbar. This icon can be moved by pressing and holding, then sliding it across the screen.

Example of the White Board image:

If you have any questions or run into any issues regarding the display, please contact the ITS Tech Support line at extension 3303 from any classroom phone.