OneScreen Instructions (TL7 model)
Updated: 2/18/2025
NOTE: There are different models of the OneScreen display on campus. Each one has similar functions, but may have a different layout or different looking icons.
These instructions are for the OneScreen TL7 model specifically.
Power on the OneScreen display from the control panel on the Smart Station desk. The display should default to the station’s computer.
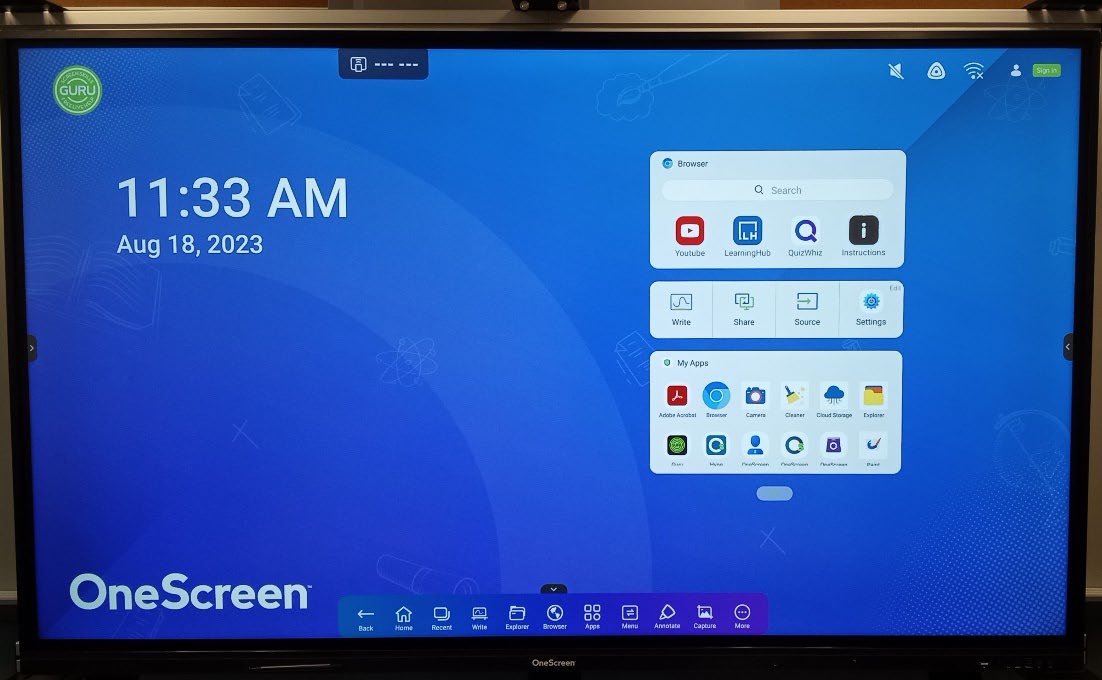
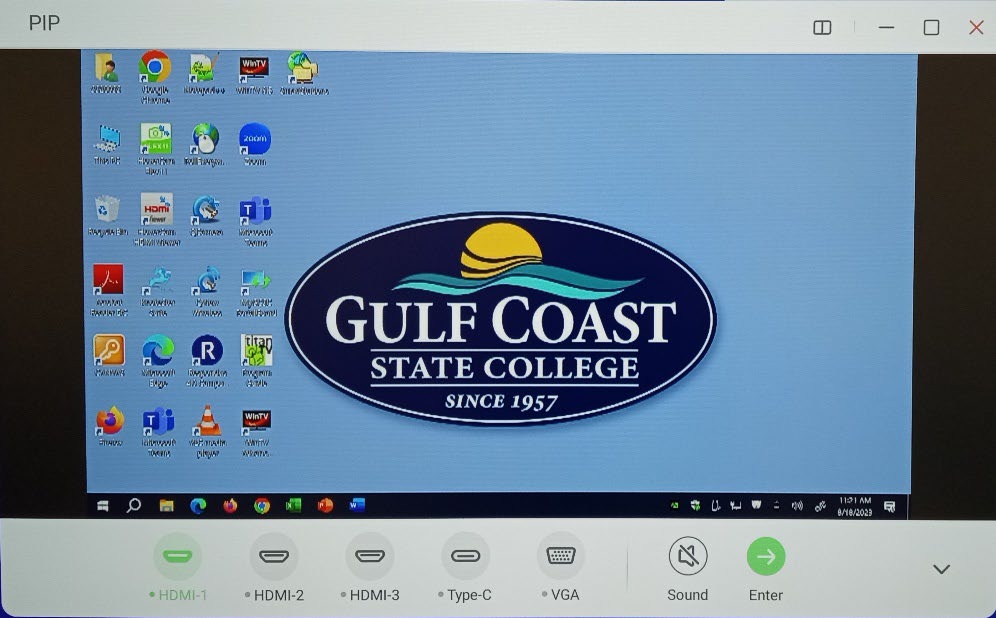
Below is an example of the display’s home screen. If you find yourself here and need to get back to the Smart Station computer - press “Source,” make sure HDMI 1 is selected, press “Enter.”


On the Smart Station computer image, swipe up from the bottom on the display to open the pop-up toolbar. You will find a few different functions here:

Select “Annotate” to draw over any image currently on the screen. A new toolbar of features will open up for the Annotate function.

If you need to access the WHITEBOARD, go back to the display’s Home Screen from the pop-up toolbar. Select “Write” to access the whiteboard.

The whiteboard will open up with lots of new features such as Pen, Eraser, Shapes, Etc. Create new pages in the whiteboard by selecting the “Add” button.
![]()
When you exit the whiteboard, it will take you back to the display’s Home Screen. Select “Source” and repeat those steps to get back to the Smart Station computer.
If you have any questions or run into any issues regarding the display, please contact the ITS Tech Support line at extension 3303 from any classroom phone.