OneScreen Instructions (H6/TL6 models)
Updated: 2/18/2025
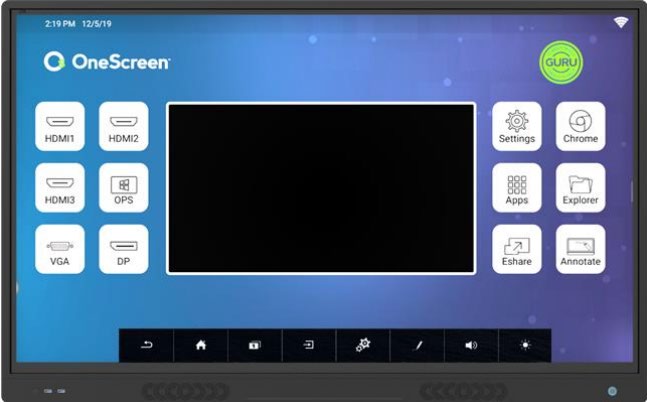
NOTE: There are different models of the OneScreen display on campus. Each one has similar functions, but may have a different layout or have different looking icons then pictured below.
These instructions are for the OneScreen H6 and TL6 models specifically.
Power on the OneScreen display from the touch control panel on the Smart Station desk. The display should default to the station’s computer. If it does not, touch the preview window in the center of the OneScreen display.

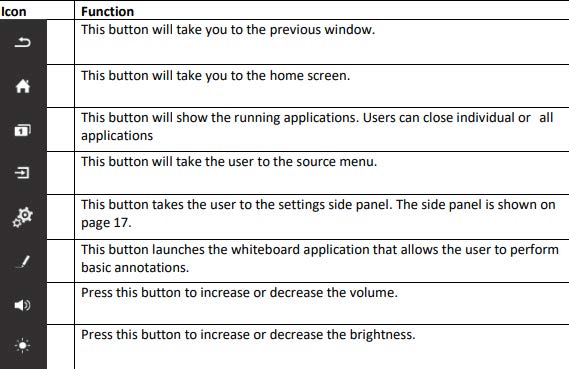
Swipe up from the bottom of the display to open the toolbar. On this toolbar you will
find tools such as:

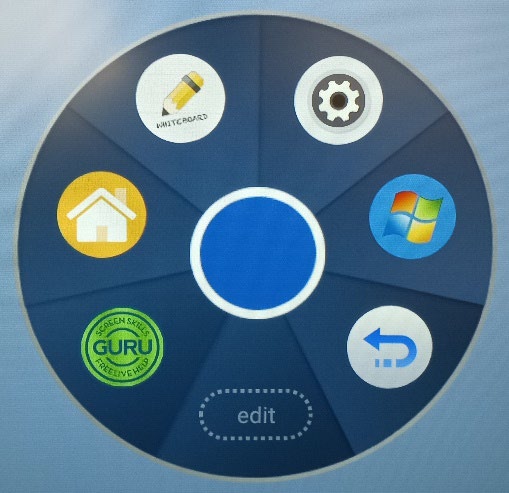
Additionally, there is a floating circle shortcut icon on the OneScreen that will
open up many of the same features as the bottom toolbar. This icon could appear anywhere
on the screen.
Annotation:
Once you select the annotation icon, you will get a new toolbar with new functions. Such as:
![]()
- Pen – Change the size and color
- Eraser
- Ellipsis – Save the current image on screen
- Minimize
- Brush – Erase the entire screen
You can use annotation with the provided pen or with your finger. Up to ten people can annotate at a time. You can also use the palm of your hand for erasing.
Use the onscreen slider in the lower left-hand corner of the display to switch the image over to whiteboard mode.

In whiteboard mode, you will have the following features:

- Pen
- Eraser
- Resize
- Undo/Redo
- Save the current project on screen
- Minimize
- Brush – Erase the entire screen
You can add pages to your whiteboard and navigate through them with the icon on the bottom right hand corner.
![]()